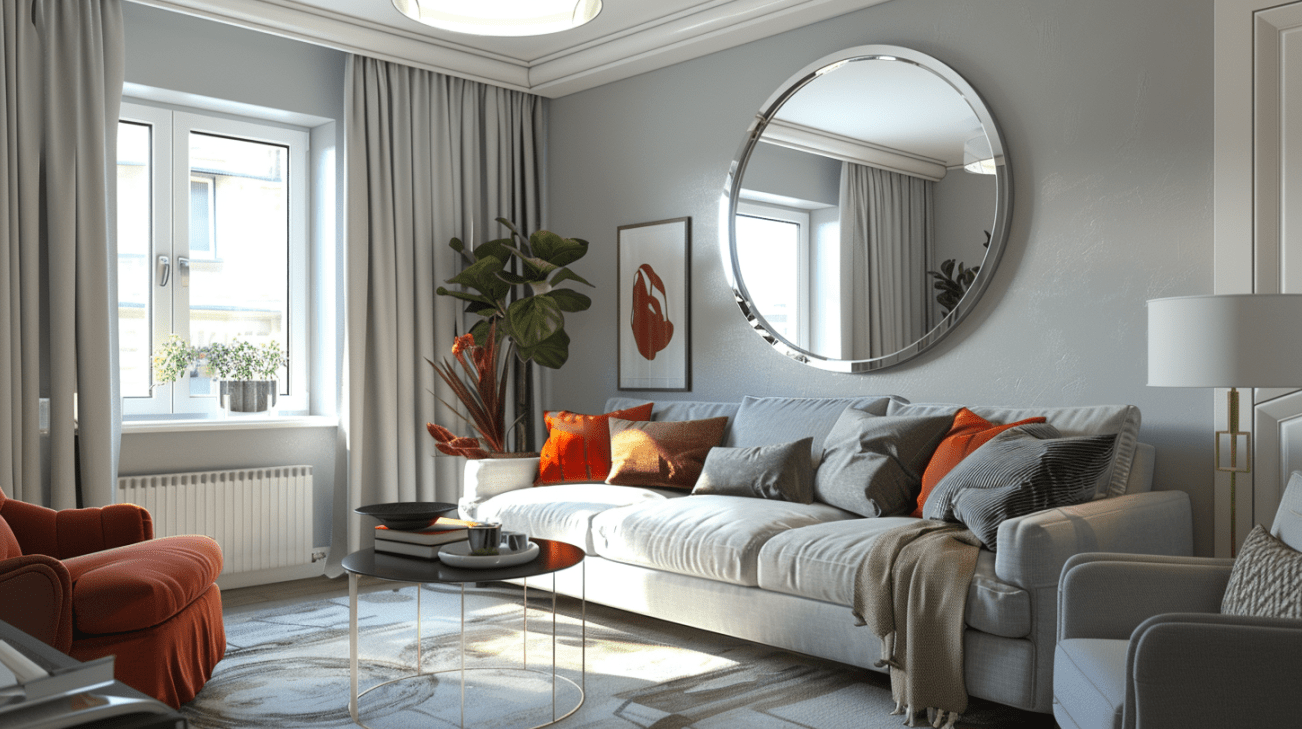
How to paint over wallpaper
Transform Your Walls: Painting Over Wallpaper Made Easy
Welcome to the vibrant world of home makeovers, where giving your space a fresh new look doesn’t have to mean days of tedious wallpaper removal. Yes, you heard it right! If the thought of stripping wallpaper sends shivers down your spine, fear not, because painting over wallpaper is a perfectly viable option when done correctly. Whether you’re dealing with outdated prints, or simply prefer not to venture into the wallpaper removal process, this guide is your go-to resource for breathing new life into your walls with a splash of paint.
By following a few key steps and employing some simple rules, you can achieve smooth, beautiful walls that show no hint of the wallpaper that lies beneath. Let’s dive into how you can transform your room with color, all while keeping the wallpaper right where it is!
A Shortcut to Revitalized Walls
Imagine walking into a room and being greeted by fresh, vibrant walls that reflect your personal style and brighten your living space. Now, imagine achieving that transformation without the hassle of removing old wallpaper. Painting over wallpaper can be your quick fix to a room makeover, offering a straightforward path to a significant change. Whether your wallpaper is stubbornly stuck or you’re short on time, this method can save you effort and stress.
With the right preparation and materials, such as high-quality primer-sealer and a bit of patience, your painted walls will look flawless, with no traces of the wallpaper pattern peeking through. Ready to embark on this decorating adventure? Let’s roll up our sleeves and get to work!
Step-by-Step Guide to Painting Over Wallpaper
Step 1: Secure the Wallpaper
- Check for Loose Edges: Ensure all corners, edges, and seams are firmly adhered to the wall. Use wallpaper glue to reattach any loose parts and allow it to dry completely.
Step 2: Prime with Purpose
- Apply Stain-Killing Primer-Sealer: Opt for a stain-killing primer-sealer designed to cover patterns and prevent them from showing through your paint. Apply two coats for maximum coverage, letting it dry thoroughly between applications.
Step 3: Smooth Out Imperfections
- Sanding the Seams: After the primer has dried, address any visible seams or imperfections. Gently sand these areas with high-grit sandpaper (400 or 600 grit) until they’re smooth and less noticeable.
Step 4: Time for Color
- Paint Your Heart Out: Now, with your walls primed and smooth, apply your chosen paint color. Paint as you would over any other surface, allowing each coat to dry completely before applying the next.
Additional Tips for a Flawless Finish
- Tackling Texture: If your wallpaper has a textured surface, consider using a thick-nap roller or a textured paint to achieve a uniform finish.
- Choosing the Right Paint: Satin or semi-gloss finishes are excellent choices for painting over wallpaper, as they help conceal minor imperfections.
- Ventilation is Key: Ensure your workspace is well-ventilated throughout the process to help paint and primer dry faster and reduce fumes.
Revel in Your Room’s Transformation
By following these steps, you’ve successfully navigated the process of painting over wallpaper, turning a daunting task into a manageable and rewarding project. No longer do you need to dread the idea of updating a room because of outdated or unwanted wallpaper. With your newly painted walls, you’ve not only updated the look of your space but also added a personal touch that reflects your unique style.
So take a moment to admire your handiwork and enjoy the fresh, new vibe of your room. Here’s to many more successful home makeover adventures!
Related articles:
Types of paint finishes
What color should you paint your closet?
Removing paint smell from your hands
Preparing walls for painting
What color to paint walk-in closets
Related Posts:
 How much wallpaper do you need to buy?
 Over 300 different free coupons available
 Vanilla Raspberry Bliss: A Bubble Bath Recipe to Swoon Over
- Achieving the Perfect Vacuum Seal: The Fold-Over Trick!
- Removing the smell of paint from hands after painting
- How to paint clouds on a ceiling
- Navigating Paint Finishes: Choosing the Perfect…
- What color to paint walk-in closets